Setting Up a Custom Pin Display Board at Home

Many collectors believe that a professional-looking pin display requires a custom-built wooden cabinet or an expensive, high-end retail display case. That's a mistake. You don't need a massive budget to showcase your collection; you just need a solid understanding of mounting surfaces, weight distribution, and visual hierarchy. This guide breaks down the mechanics of building a custom display board at home, from choosing your base material to the final layout of your most prized Disney pins.
What Materials Should I Use for a Pin Display Board?
The best material for your display board depends entirely on how much weight your collection carries and the aesthetic you want to achieve. For most collectors, cork, foam board, or linen-wrapped canvas are the top three contenders because they allow pin posts to sink in securely without slipping.
If you're working with heavy 3-inch jumbo pins or heavy metal pins, a thin sheet of poster board won't hold up. You'll see the board bowing or the pins falling out. Instead, look for something with density. Cork is the gold standard for versatility. It's easy to cut, inexpensive, and provides enough "grip" for the posts to stay put. If you want a more high-end, polished look, a linen-wrapped frame can hide the messy underside of the cork and make the board look like a piece of art.
Here are a few common options to consider:
- Cork Sheets: Great for lightweight pins and easy to swap out.
- Foam Core: Lightweight and easy to cut, but can be fragile if handled too much.
- Fabric/Linen: Best for a "finished" look; usually requires a backing like cork or foam.
- Pegboard: Ideal for a modern, industrial look, though it requires more specialized hardware.
If you're worried about the structural integrity of your board, it's worth checking out the properties of cork to see how it handles tension and weight. A dense cork will prevent your pins from wobbling when you move the board around.
How Much Does a Custom Pin Display Cost to Make?
A DIY display board typically costs between $15 and $50, depending on whether you buy new materials or upcycle items from a craft store. You can often find high-quality components at places like Michaels or even at local thrift stores.
Building a display doesn't have to be a massive investment. If you're on a budget, you can often find a sturdy, empty picture frame at a thrift shop and simply replace the glass with a piece of cork. This is a great way to get a high-end look for a fraction of the retail price. On the flip side, if you want to go all-out with custom-painted backgrounds or high-end velvet, your costs will climb.
I've found that the most expensive part isn't the board itself—it's the time you spend deciding where each pin goes. I once spent three hours just trying to decide if my limited edition Mickey Mouse pin looked better on the top left or the bottom right. (Don't be like me; plan your layout before you start pinning!)
When you're deciding on your budget, consider these three tiers:
| Tier | Estimated Cost | Materials Needed |
|---|---|---|
| Budget DIY | $10 - $20 | Thrifted frame, cork sheet, glue. |
| Mid-Range | $30 - $60 | New shadow box, linen fabric, decorative pins. |
| Premium Custom | $100+ | Custom wood frame, velvet backing, LED lighting. |
How Do I Arrange Pins Without Overcrowding the Board?
To avoid a cluttered look, you should group your pins by theme, color, or size while leaving enough "negative space" between them. A crowded board makes it hard to appreciate individual pins and can actually lead to scratches if the pins bump into each other during movement.
Start by categorizing your collection. Are you a Disney Parks enthusiast, or do you mostly collect seasonal pins? Grouping by color is another way to create a visual flow. If you have a lot of bright, neon pins, placing them near each other can create a "pop" effect, while more subtle, vintage-style pins might look better in a dedicated corner.
Here is a simple workflow for organizing your layout:
- Sort your collection: Group by size (standard vs. jumbo) or by series.
- Lay out without pinning: Lay your pins on a flat surface first to see how they look together.
- Use the "Rule of Thirds": Don't put everything in the center. Offset some groups to create a more dynamic look.
- Test the weight: Make sure your heaviest pins aren't all on one side, or the board might tilt.
If you're struggling with the initial organization of your collection, you might find my post on 6 best ways to organize your pin collection helpful for deciding on a system before you even touch the display board.
One thing to watch out for is the "pin fight." If you place two pins too close together, the metal posts can snag the fabric or the edges of the other pin. This is especially common with high-relief pins that have thicker edges. Always leave at least a half-inch of space between different pin types.
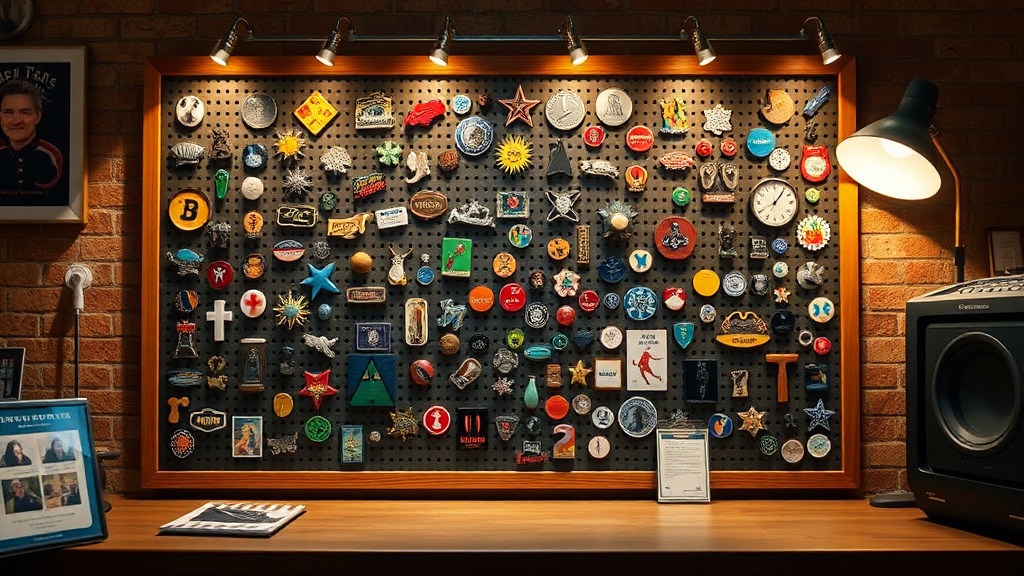
The Importance of Lighting
Once your board is up, the lighting becomes your best friend or your worst enemy. If you use a standard LED strip, it might wash out the colors of your pins. If you use a single harsh overhead light, you'll get shadows that hide the fine details of your most precious pieces.
I recommend using soft, diffused light. If you're using a shadow box, a small strip of LED lights tucked inside the frame can create a beautiful glow. Just ensure the lights don't get too hot. Heat can actually damage the rubber clutches or even the paint on certain types of enamel pins over time.
If you're displaying your pins in a room with a lot of sunlight, consider the impact of UV rays. Constant sun exposure can fade the colors of your pins and even damage the backing material of your board. If you're a serious collector, you might want to look into UV-protective glass or acrylic for your display case.
Maintenance and Longevity
A display board isn't a "set it and forget it" project. Dust will inevitably settle on your pins, making them look dull and neglected. To keep things looking fresh, you'll need to clean them regularly. But be careful—you don't want to pull a pin out of the board just to clean it, as that can loosen the cork or fabric over time.
Instead, use a soft, dry brush or a microfiber cloth to gently wipe the surface. If you have a particularly stubborn smudge, you can use a tiny bit of moisture, but I'd highly suggest reading my guide on how to keep your pins shining before you try anything involving liquids. You don't want to accidentally ruin a rare find because you used the wrong cleaning agent.
As your collection grows, your board will inevitably get full. This is a good problem to have, but it means you need a plan. Will you swap out pins every month? Or will you move older pins to a storage book to make room for new ones? Deciding this now will save you the frustration of having to reorganize your entire display every time you go to a Disney trading event.
If you're still in the early stages of building your collection, you might want to revisit my tips for starting your Disney pin collection to ensure you're building a foundation that's worth displaying in the first place.
When you're ready to display, remember that the board is a living part of your collection. It changes as you acquire new pieces and as your tastes evolve. Don't be afraid to tear it down and start over if the layout isn't working anymore. A display is only successful if it makes you happy when you look at it.
Steps
- 1
Choose Your Base Material
- 2
Select a Fabric Texture
- 3
Secure the Fabric to the Frame
- 4
Arrange and Mount Your Pins